GM Toolkit Dice Roller Help
GM Toolkit has a sophisticated and powerful dice roller module that lets you emulate the dice in your favourite games. It supports:
multiple independent dice sets
multiple colours of dice within a set
custom dice marks, for games that have specific symbols indicating certain results
custom dice configuration, with multiple symbols per die face
mutually exclusive, orthogonal dice result for result cancellation within rolls
To help you get the best out of it, read this guide.
Interface tour
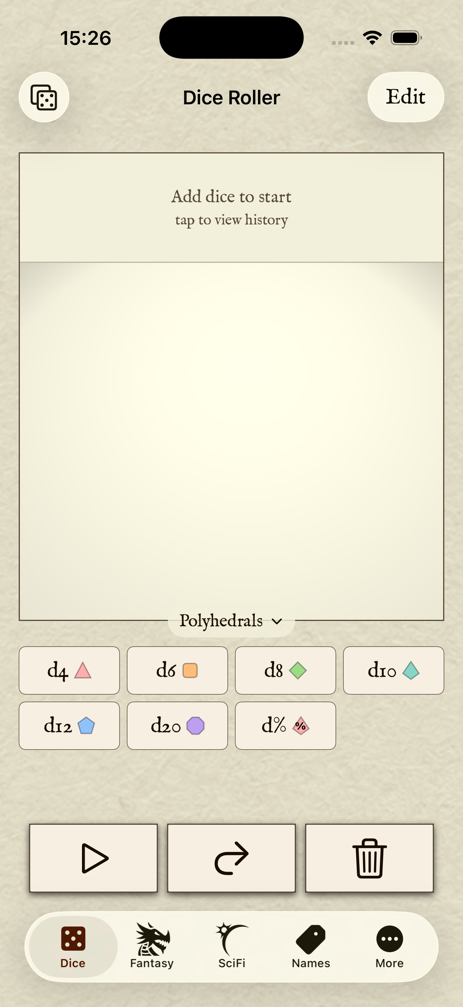
This is the dice roller module’s main view. The main parts are:
In the centre is the dice arena, where 3D dice will roll realistically.
Above this is the stats shelf, where your roll results are displayed
Tapping the stats shelf opens the roll history - more on that below
Underneath the dice arena are the dice selection buttons. Tap a button to add this die to the current roll. By default you will see the standard set of polyhedral dice.
At the bottom are the the roll control buttons
Roll - this rolls the dice and generates a result
Re-roll - this re-rolls eligible dice for games where this is a factor.
Clear - this removes all the dice from the arena
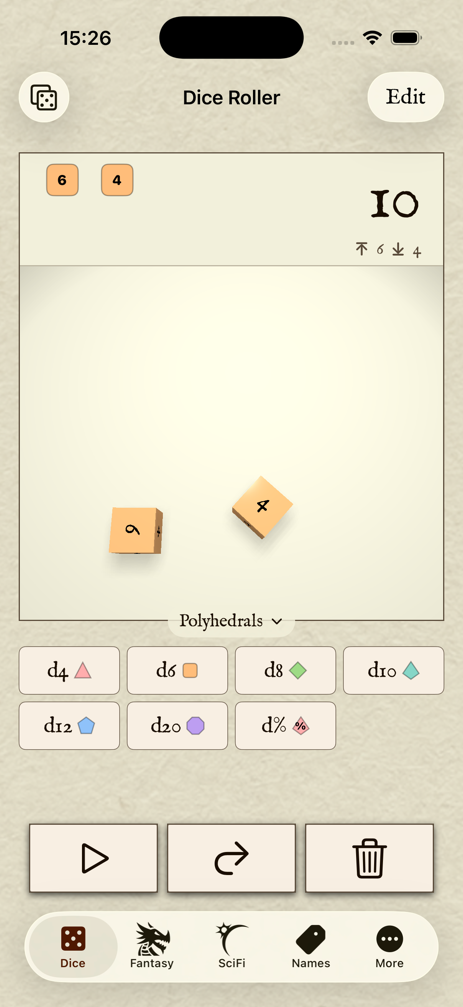
Here you can see two dice have been rolled, and the statistics are displayed:
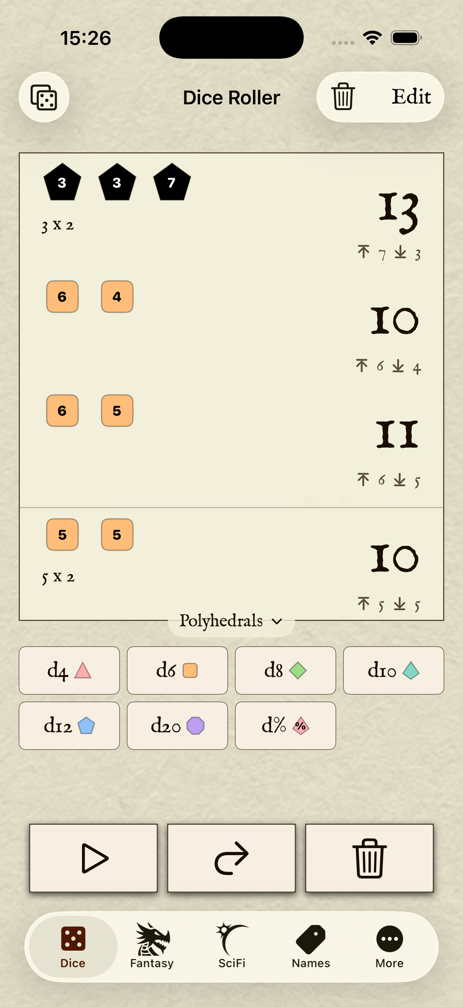
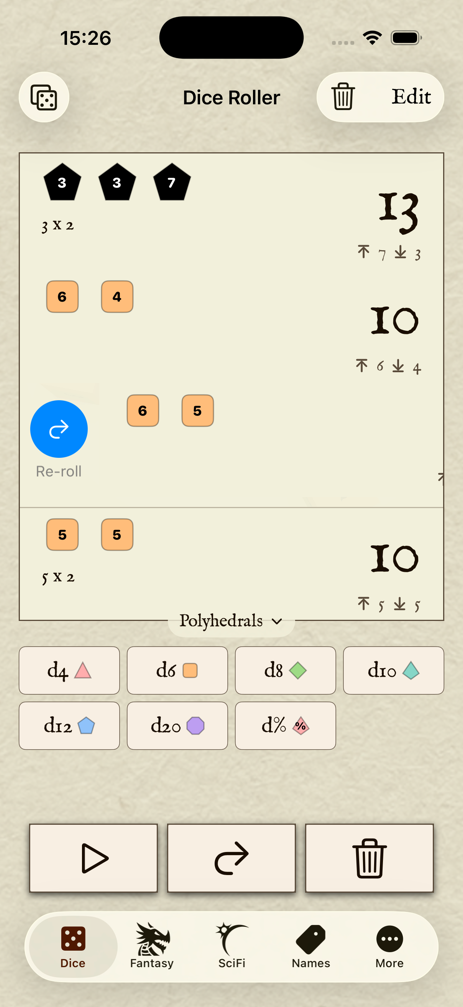
Tap the statistics shelf to open the history view. You can scroll down to view a log of your previous dice rolls.
Swipe any roll to the left to delete it…
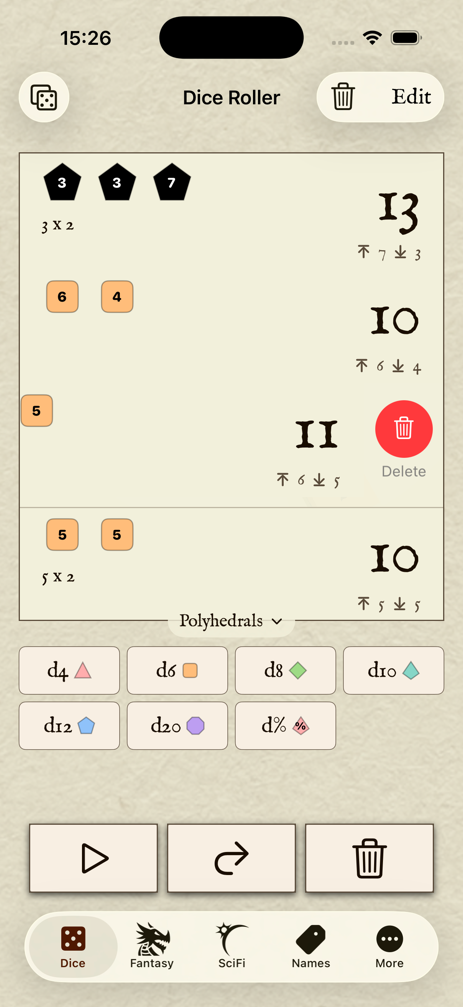
…and swipe any row to the right to roll these dice again in a fresh roll. This is handy for situations where you need to repeat particular dice combination rolls multiple times.
Tap the top trash can icon to clear the log when the history is displayed.
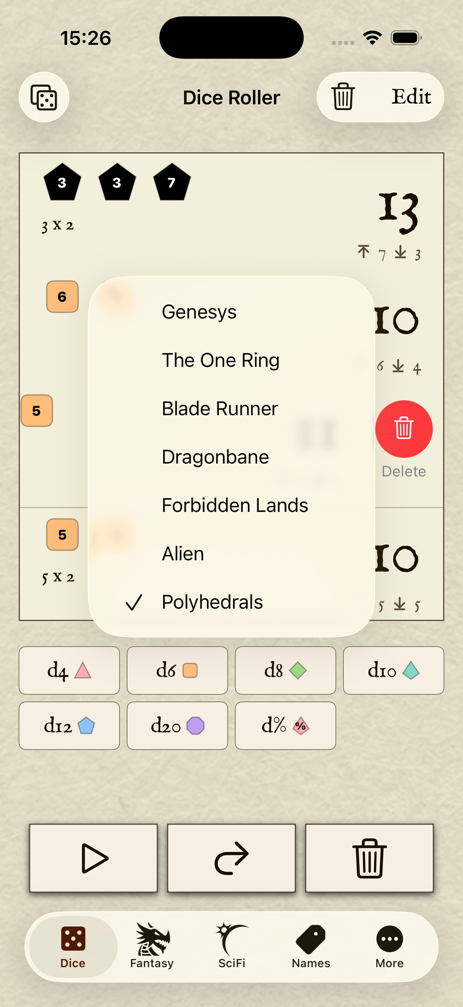
At the bottom of the dice arena is a quick selection menu - tap this to swap between your different dice sets.
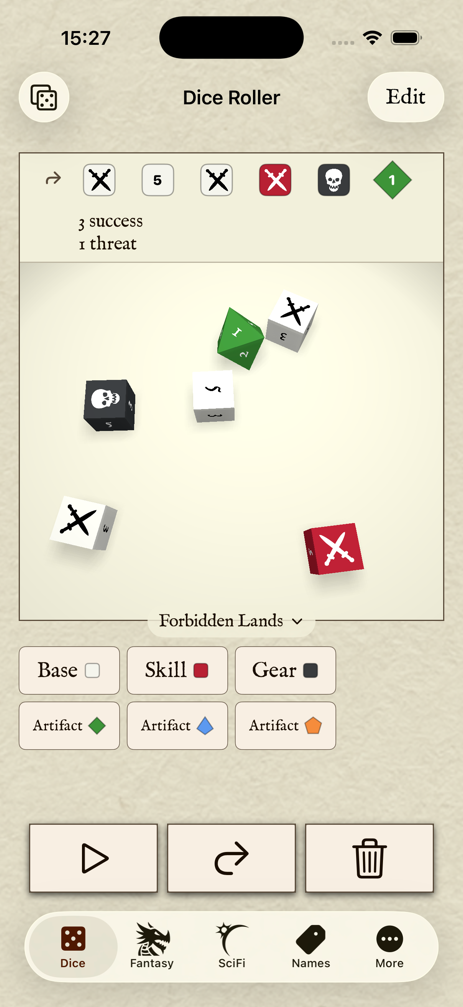
The dice roller is very customisable so you can get just the right look and behaviour for your game. Here’s a dice set for Free League’s Forbidden Lands - you can see the app understands which results mean success.
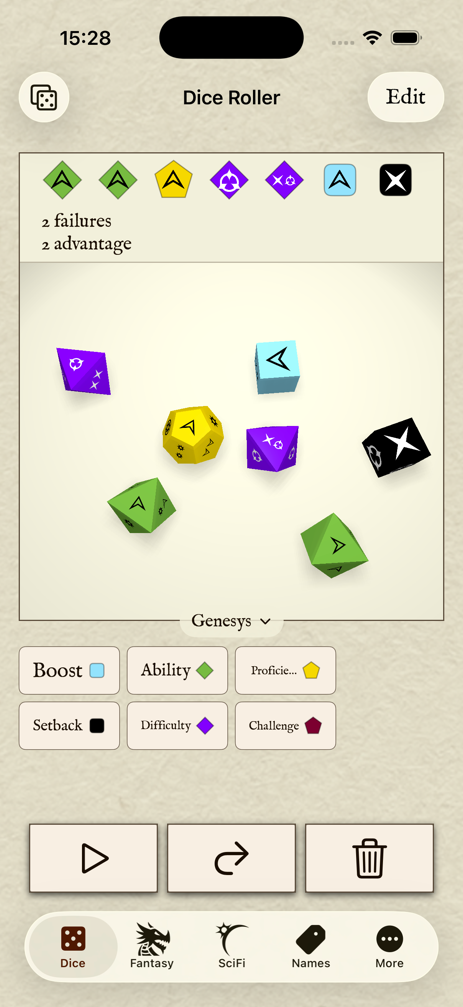
And here is a setup for Genesys, which has complex orthogonal results from a single roll. Here we failed but gained 2 advantages:
Custom Dice Sets
Tap the dice button in the top-left navigation bar to open the dice set editor. Here you can create your own dice sets, or customise existing sets. You can also import a selection of pre-configured sets for many popular RPGs
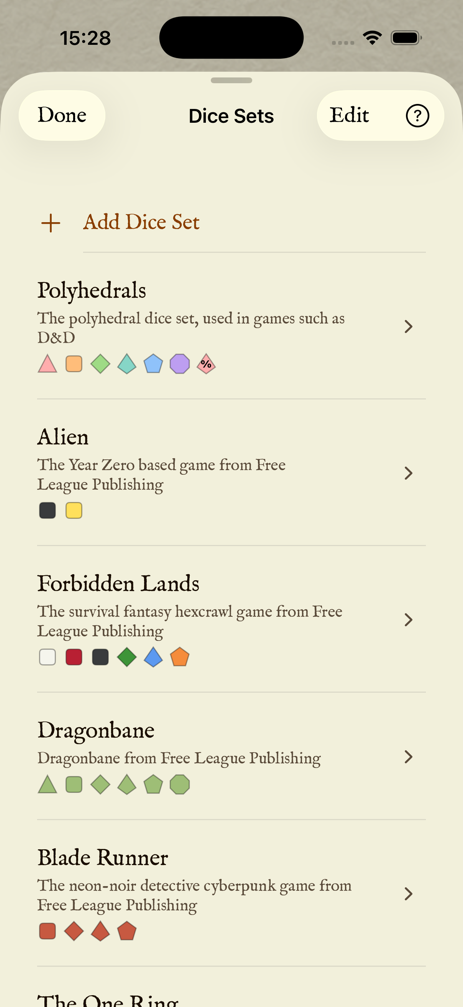
Creating a custom dice set
Tap “+ Add Dice Set” to add a new custom dice set. Here we’re going to walk through creating a set for White Wolf Publishing’s classic World of Darkness or Chronicles of Darkness game.
First give the set a name and optionally a description.
Below this you will see buttons to add dice buttons to the dice roller grid - these match the buttons on the dice rolling screen. Tap a button to add a die in this slot, and configure its shape and colour.
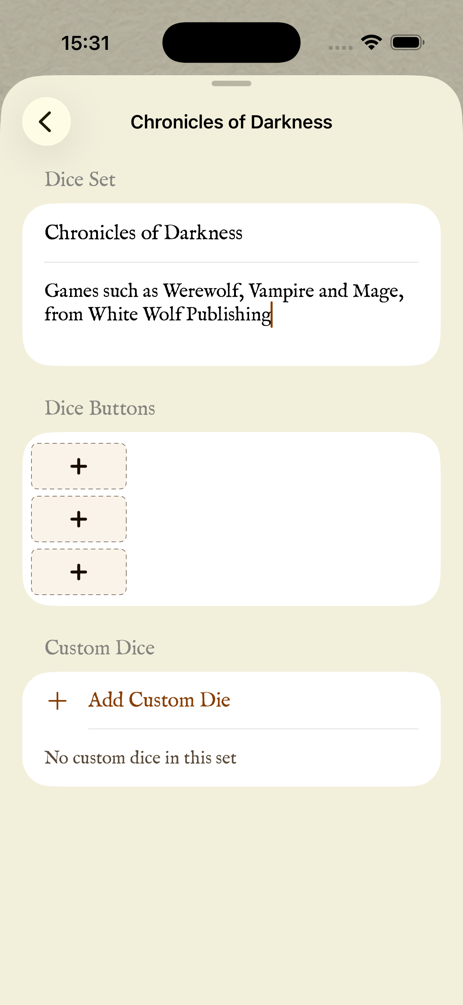
For this game we need to create a custom dice that will obey the Chronicles of Darkness rules - a ten sided dice, where am 8, 9 or 10 means ‘success’, and where rolling a 10 ‘explodes’, creating another dice that is immediately rolled.
Tap “+ add custom die” and give it a name - here we call it a ‘10 again’ die. We choose ‘d10’ - a 10 sided die.
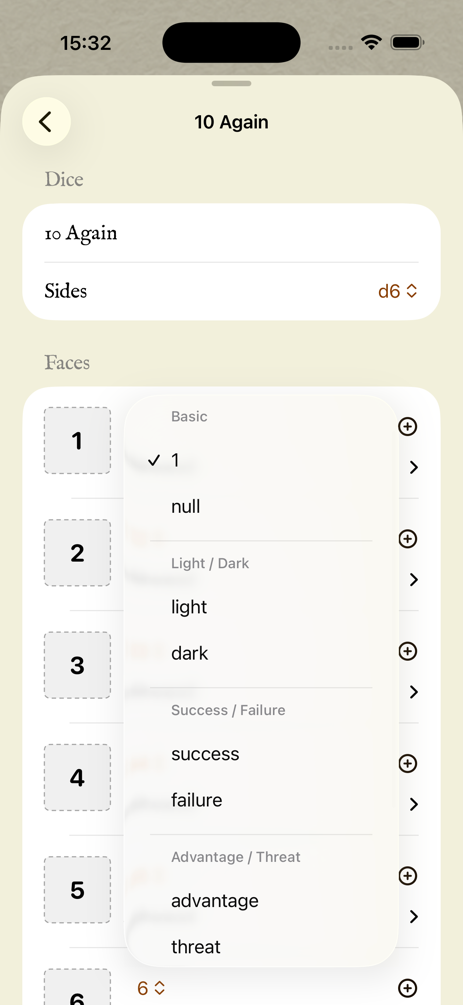
Next is a list of each of the faces on the die. For each face, you can set what is displayed on the face (if anything), and what that results means. This is usually a number that matches the face number, but it can be a number of other things too. In fact, each face can represent multiple results, depending on what your game requires. For example in Genesys, some faces represent two successes, or a success and an advantage.
Here we configure the side 8, 9 and 10 to be a ‘success’ result using the menu for each face.
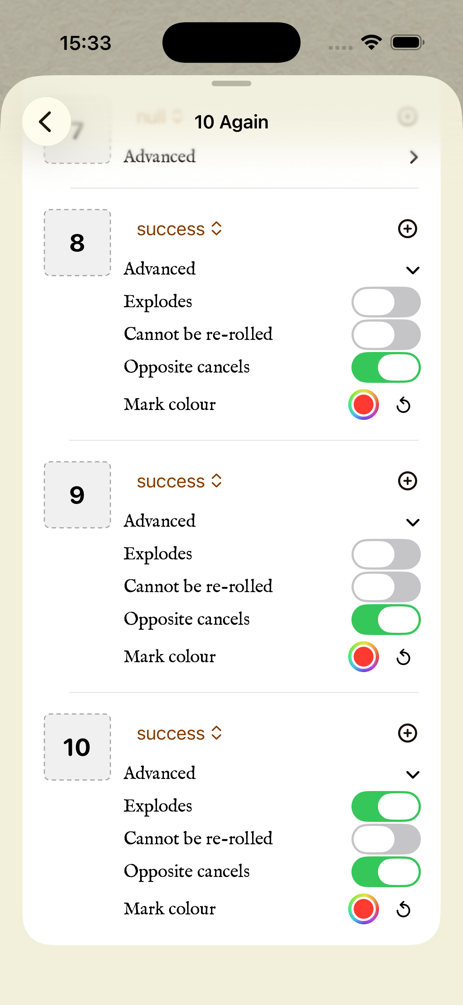
Advanced options
The advanced options are:
“Explode” - rolling this result will immediately rolled another matching die and add it to the results
“Cannot be re-rolled” - for games where rolls can be re-rolled or ‘pushed’, some results are not allowed to be re-rolled. Turn this option on to prevent re-rolls. For example, many Year Zero Engine games use the concept of pushing rolls, except for dice showing a ‘1’ or a ‘6’, and this is how you would support this.
“Opposite cancels” - this defaults to ‘on’ and is only relevant for results in mutually exclusive pairs. For example, ‘success’ would normally be cancelled by ‘failure’ - but for some games this isn’t necessarily the case. For example, in FFG Star Wars the Force dice acts as a resource die generating both light and dark side Force points - to support this, turn this toggle off, otherwise light and dark results would cancel each other out.
A colour wall - use this is set a specific colour for marks on this side. This overrides the die’s mark colour.
Selecting the die
Once our custom die is added it appears in the die size chooser for this particular set.
Select the die and change its colour if you prefer. This will open the colour picker. You can even set the opacity to have glass or crystal dice! The marks are a contrasting colour by default, but you can set any colour you prefer. Any sides with their own custom colours in advanced settings will use that colour instead.
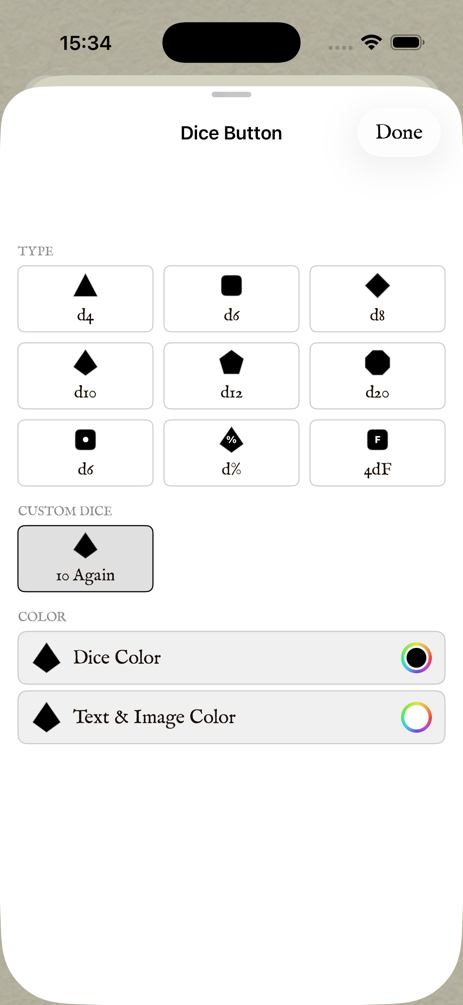
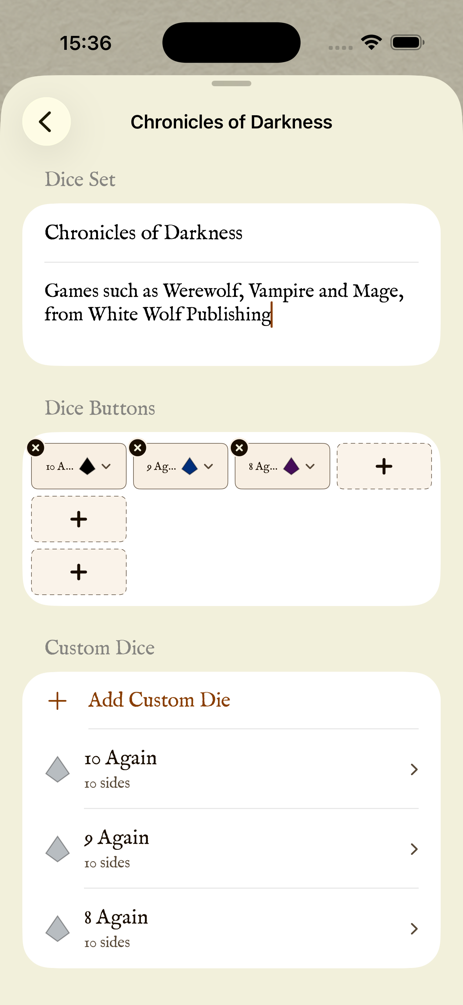
Here we also create the 9 Again die, which explodes on both a 9 and 10, and the 8 Again die.
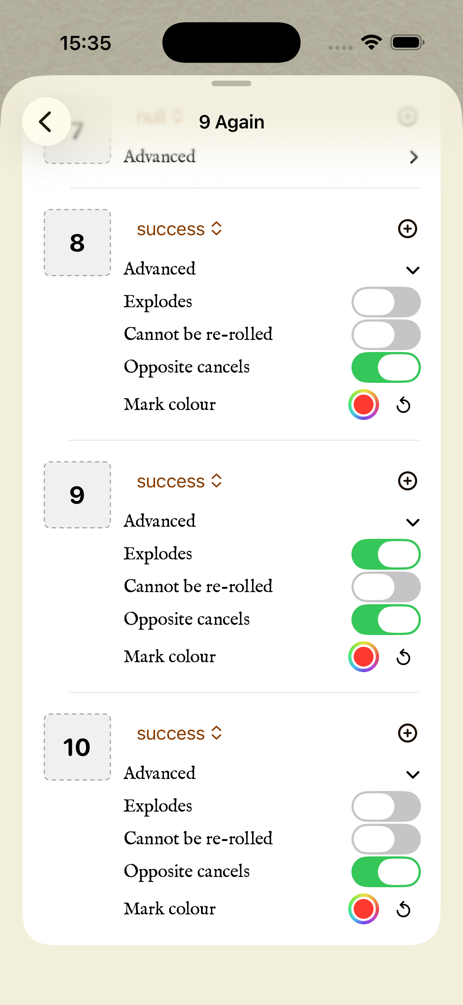
We choose custom die colours to distinguish them (keeping it suitably gothic!) and set a custom red mark colour for the success faces only.
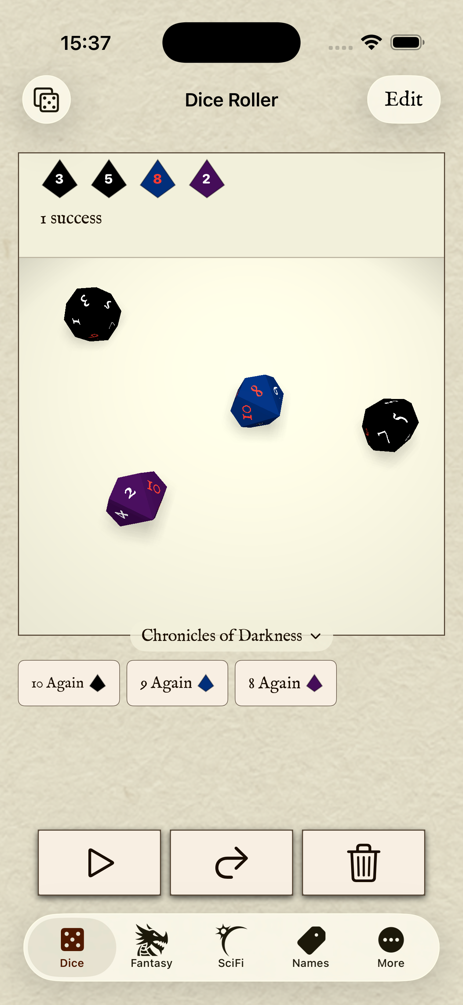
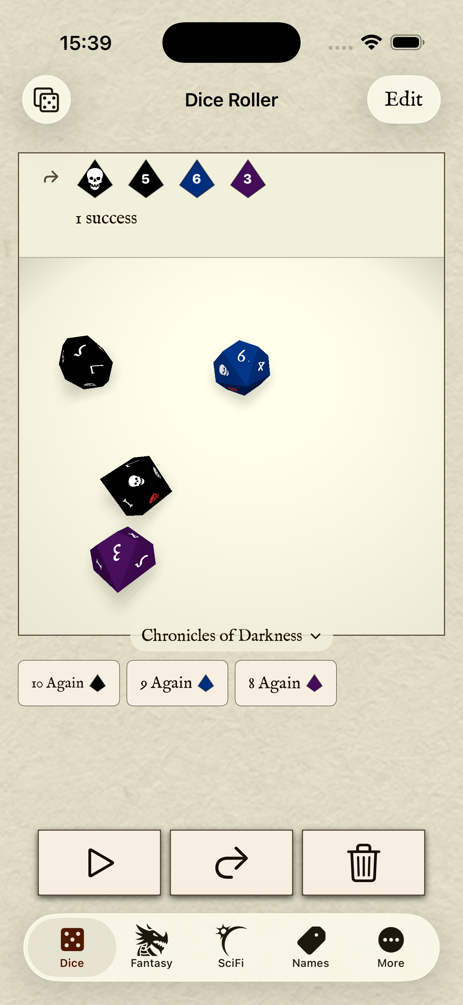
Here’s how the dice look when rolled.
Setting a face image
If you want to change the face shown on a die, click the face icon (the grey well and number by default), and pick either a predefined symbol or a file from your Files app.
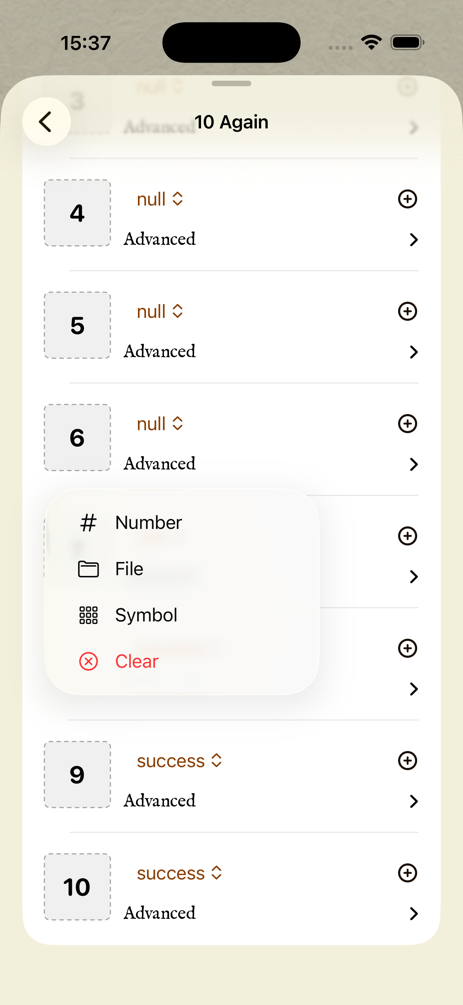
Here we have set a custom skull image for our success faces - very moody!
If you encounter a dice configuration that isn’t handled by the app, please get in touch and let us know about it.
Happy dice customisation!